
To make an AI ASMR video, plan one visible action and the sound that belongs to it. Generate a close-up clip, inspect the movement, then use suitable generated audio or add a separate recording. The important part is not how elaborate the scene looks. It is whether the viewer can follow the texture, rhythm and contact between objects.
A wooden bead touching a tray can be enough. If the tap sounds before the bead lands, however, the scene stops feeling convincing. Treat the visual and sound as two parts of the same small performance.
This guide covers a practical workflow and three prompt concepts you can adapt. The prompts are illustrative starting points, not tested outputs or guarantees of a particular result.
What makes an AI ASMR video work?
ASMR stands for autonomous sensory meridian response. People often use the term more broadly for videos built around gentle, detailed sounds and close-up actions. Not everyone experiences the same response, so a creator should describe the content rather than promise relaxation, sleep or another health benefit.
For production purposes, distinguish three formats. A silent satisfying loop relies on motion alone. An audio-led sensory clip makes sound central to the experience. A product video may borrow the close framing and measured pace of ASMR without presenting itself as an ASMR experience.
Choose which you are making before you generate. A fast montage with loud music might suit an advertisement, but it competes with the subtle brushing or tapping that gives a sensory clip its focus.
A useful scene has a recognizable material, an easy-to-follow action and a clear point of contact. A brush crossing paper is readable. Several hands moving through a pile of transforming objects asks the audience—and the generator—to track much more.
Plan the picture and sound together
Start with one sentence: “The viewer watches this object do this action and hears this sound.”
For wooden tapping, the picture is a bead meeting a tray; the sound is a short wooden knock followed by a pause. For pouring, the picture is a narrow stream entering a glass; the sound changes from the initial splash to a steady flow. For brushing, the picture is bristles moving across paper; the sound follows that movement, then stops.
Decide whether a hand must appear. Leaving it outside the frame can simplify a shot, provided the object's movement still makes sense. Do not ask a bead to float unnaturally unless that is an intentional creative choice.
Prepare a source image if the scene needs a specific product, surface or composition. Leave room for the action, keep the contact area visible and avoid placing important details at the edge of the frame. If a brand label matters, plan to inspect it closely rather than assume it will remain accurate.
How to create an AI ASMR video with AKOOL
1. Open the appropriate generation workflow
Use AKOOL’s AI Video Generator, or follow the Image to Video help guide if you already have a source image. Upload your reference, choose an available model and describe the intended movement.
These are the core generation steps, not a promise that every model exposes identical controls. Check the options in your workspace before committing to a sound-dependent concept.
2. Choose an audio approach before generating
There are two useful routes: generate picture and audio together where supported, or make the picture first and add sound in editing.
AKOOL’s Wan 2.6 overview describes native audio support. That makes it a candidate to investigate, not proof that every Wan version—or every workflow in an account—offers the same capability. Check the selected version and its visible audio options.
If you cannot confirm audio support, plan a silent visual output and a separate soundtrack. Writing “wooden tapping” in a prompt does not turn a silent model into an audio generator.
3. Write one action, not a whole sequence
Describe the material, movement, framing and pace. Ask for the camera behavior you need and identify the few features that should remain stable.
For example, “one slow brush pass across rough paper, fixed close-up” is easier to evaluate than “a beautiful relaxing sequence of many textures.” The first instruction gives you a specific action to check.
Keep audio direction distinct from visual direction, even if the tool accepts both in one prompt. This makes it easier to revise the sound without changing the composition.
4. Generate a short test and review it
Choose from the duration, resolution and aspect-ratio settings actually available. Check the credit estimate before generating. A test should answer whether the action is usable before you spend more on variations.
Watch the output once without sound. Does the object keep its shape? Does contact happen where it should? Then listen without watching. Are there unintended voices, music, sudden peaks or background noise? Finally, watch and listen together.
Save the source image, prompt, model version and settings alongside the output. That record makes the next revision more deliberate.
A prompt structure for sensory clips
Use this sequence: material and subject; visible action; framing and camera behavior; pace; stable details; sound direction if supported.
Do not overload the prompt with competing demands. A camera orbit changes what the viewer sees, while a macro texture shot depends on holding attention in one place. Choose the priority.
For broader prompt-writing patterns, see AKOOL’s AI video prompts guide. Here, the key extra question is: what sound should happen at each visible contact?
Three AI ASMR concepts to try
The examples below describe intended scenes and review criteria. They are not reports of completed tests.
Wooden taps
Prepare a close image of a small wooden bead above a shallow wooden tray. Keep the contact area in view and use a simple background.
Visual prompt: “Close-up of one round wooden bead lowered onto a smooth wooden tray, then lifted away. The grip stays above the top edge of the frame. Fixed camera, soft side light, natural wood grain. Keep the bead and tray shapes unchanged.”
Audio direction, where supported: “One quiet wooden tap at the moment of contact, followed by a short natural decay. No speech or music.”
For a repeated tapping sequence, consider editing together approved single taps rather than relying on an exact generated count. Leave enough space between taps for the viewer to notice the rhythm.
Review the contact frame. The bead should not pass through the tray, flatten or change size. If the action fails, reduce the travel distance and keep more of the supporting hand visible if needed to make the mechanics clear.
Water over ice
Prepare a glass with a few clearly visible ice cubes and a jug positioned near the rim. Avoid elaborate reflections or multiple containers.
Visual prompt: “Close-up of a narrow stream of clear water pouring from a glass jug into a plain glass containing ice. One steady pour, fixed camera and soft window light. Preserve the glass rim and base. Keep the background still.”
Audio direction, where supported: “A gentle pour with light ice movement, matched to the visible stream. No music, speech or exaggerated splash.”
This concept has several things to inspect: the stream should reach the glass, the liquid level should behave plausibly and the glass should not bend. If the geometry breaks down, try a tighter crop on the stream and rim rather than asking for more decorative detail.
A separately recorded pour can give you an alternative soundtrack. Match its beginning and ending to the actual usable motion, not the motion you originally hoped to generate.
A brush across textured paper
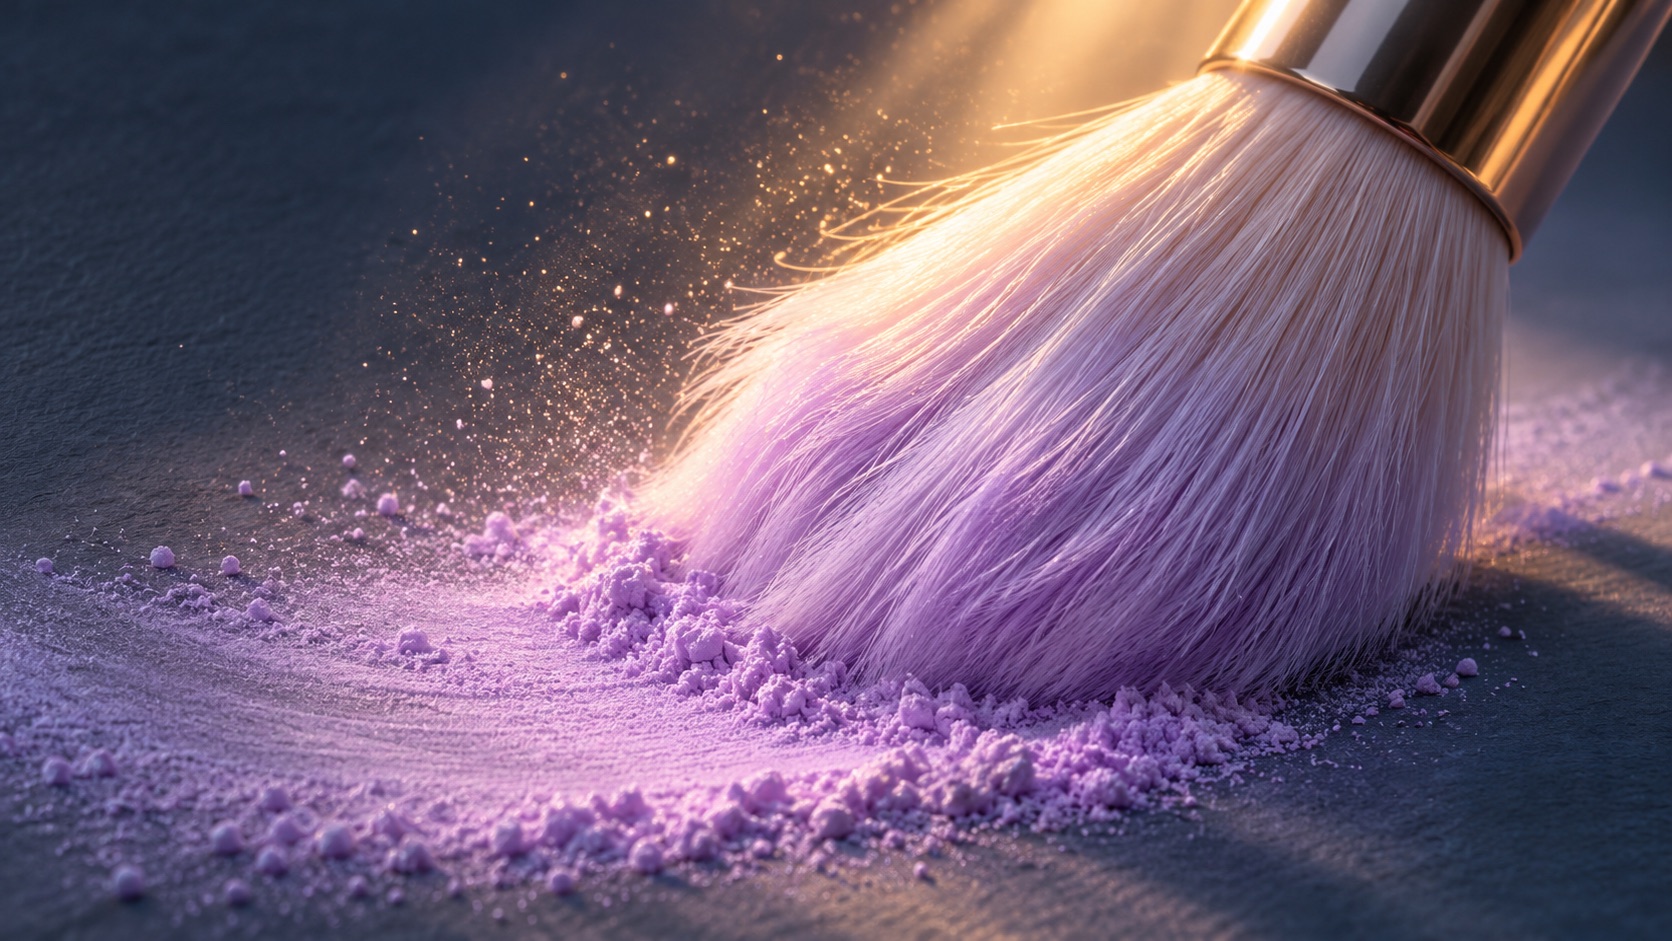
Prepare a close image of a soft brush resting at one edge of a textured sheet. Use lighting that reveals the surface without hiding the bristles.
Visual prompt: “A soft brush makes one slow left-to-right pass across rough cream paper. Fixed close-up, gentle side light, shallow depth of field. Keep the paper flat and the brush shape stable. End with the brush resting near the right edge.”
Audio direction, where supported: “A soft dry brushing sound only while the bristles move across the paper. Quiet background, no music or speech.”
Inspect whether the bristles touch the paper throughout the pass. If the brush stretches or the surface ripples, shorten the movement or start with the brush already in contact.
What if the generated video has no usable sound?
You can keep a good visual clip and replace its soundtrack. Use a video editor that supports separate audio tracks and precise timeline positioning.
Import the clip and your own recording or appropriately licensed foley. Mute the original track if you are replacing it. Locate the visible contact, place the corresponding sound there, then adjust by listening and watching at normal speed.
For continuous actions, align both ends. A pouring sound that starts correctly but continues after the jug stops still feels mismatched. Trim or replace the recording rather than stretching it so far that its character changes.
Keep a little quiet around the action. Do not make every sound equally loud, and listen at a comfortable volume rather than turning up playback to hide a weak mix. Check the final export on headphones and ordinary speakers.
Fix the specific problem you see
If texture melts, reduce the motion and compare the output with the original surface. If extra objects appear, simplify the composition and remove unnecessary scene changes.
If the camera wanders, state that it stays fixed and avoid contradictory instructions such as “dynamic sweeping movement.” If the sound is late, adjust it independently in editing where possible.
If a tap is harsh or distorted, lowering playback volume will not repair distortion already recorded into it. Replace or re-record that sound. If a loop has an obvious jump, choose a natural ending instead; not every action needs to loop.
Change one thing per attempt. Otherwise, a better result will not tell you which revision helped.
Start with one convincing action
Open AKOOL’s AI Video Generator and choose one material you can show clearly. Plan the sound, generate the movement and review them separately before combining them. A small scene with believable timing is a stronger starting point than a complicated sequence that never quite lines up.