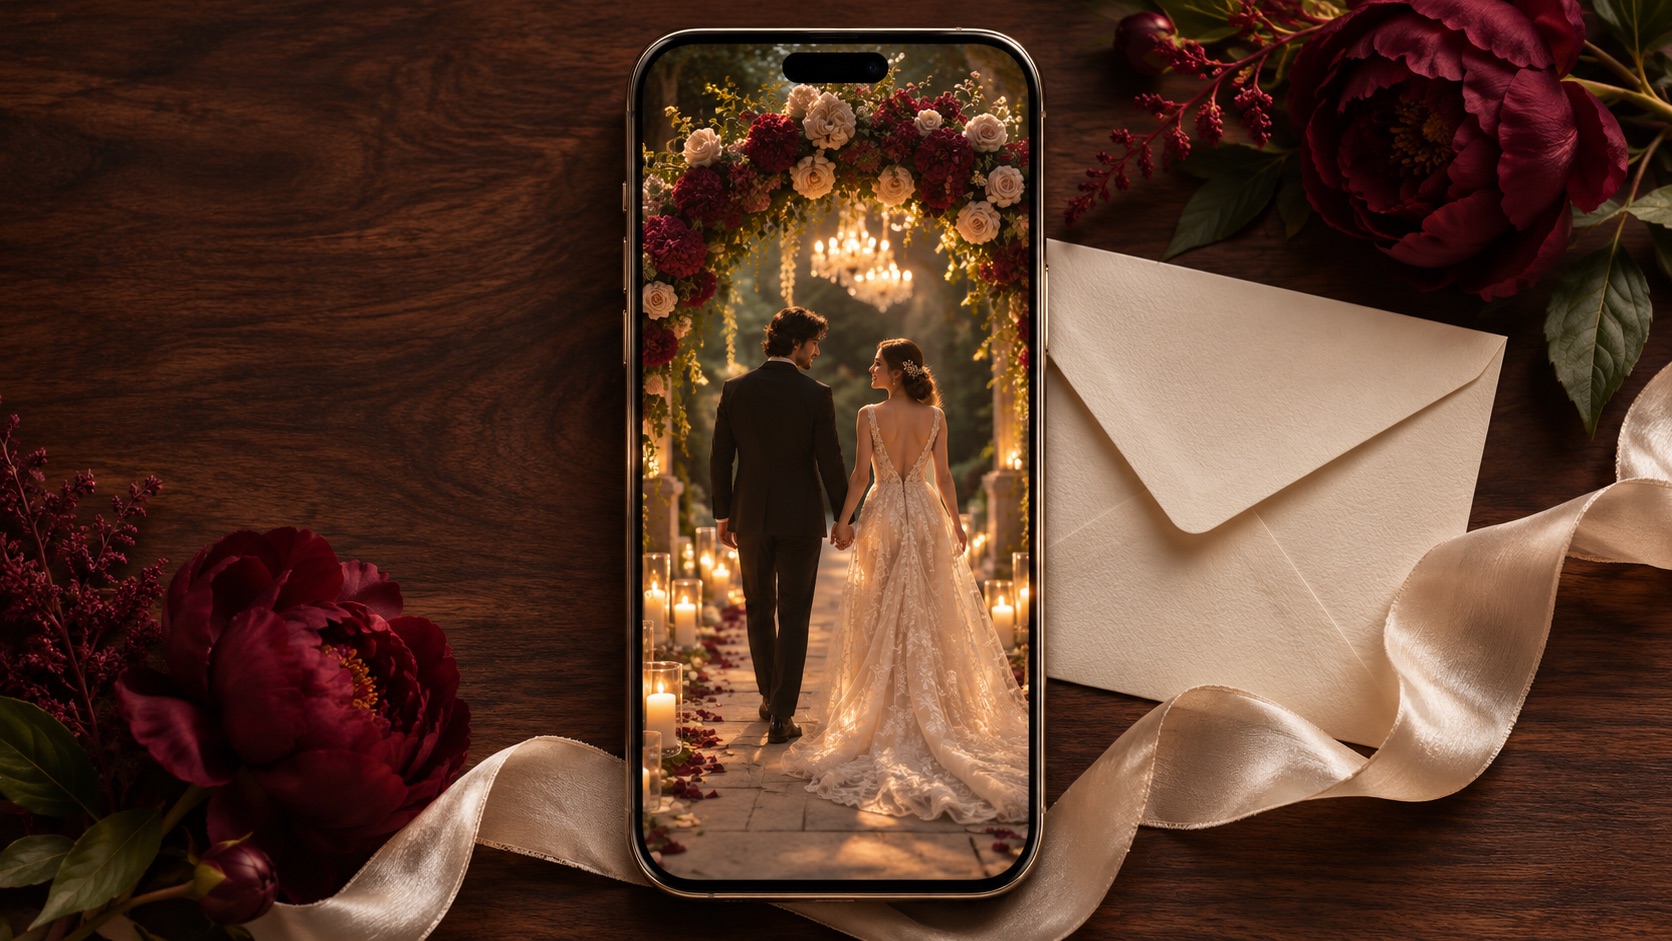

To make a wedding invitation video with AI, choose a few permitted photos, write a short invitation script and create restrained motion clips. Add names, dates, venue details and RSVP instructions as exact text in an editor. Review the exported invitation on a phone before sharing it with guests.
- Approve the event information before creating the visuals.
- Use AI for selected photo motion or decorative scenes; add critical lettering afterward.
- Give guests enough time to read and a usable way to open the RSVP destination.
The scripts and storyboard below are illustrative templates. They are not a finished invitation for a real couple or reports of tested AKOOL generations. Replace every bracketed field with approved information before using them.
What information belongs in the invitation?
Start with the purpose of the message. A save-the-date asks guests to reserve a day. A full invitation tells them which event they are invited to, where and when to attend, and how to respond. The two formats can share a visual style while communicating different amounts of information.
- Names, spelled and presented as the couple wants them.
- The occasion and, where needed, who is hosting.
- The full date, including the year when necessary to avoid ambiguity.
- Arrival or ceremony time, clearly distinguished from other event times.
- Venue name and useful location information.
- The approved RSVP method and deadline.
- A separate details destination for travel, accessibility or other longer information.
Keep the main card focused on the event the recipient is invited to attend. If ceremony and reception invitations differ by guest group, prepare separate approved versions. A small label change can have a large practical consequence, so do not rely on a filename alone to distinguish them.
For remote or destination events, verify whether a time zone belongs in the copy. Confirm addresses and links directly with the event organizer. Attractive typography cannot compensate for a wrong date or an incomplete venue name.
How do you plan the photos and script?
Choose a simple four-part sequence: an opening motif, a couple photo or illustration, an event-details card and an RSVP closing. Each part has a job. The motif establishes tone; the photograph adds a personal connection; the cards deliver the information.
Use photos you have permission to upload and share. Select images with enough resolution for your planned crop and a composition that leaves room around faces. A crowded group photo is harder to crop and inspect than a clear portrait. If the couple prefers no faces, a meaningful location, floral arrangement or personal object can provide the visual theme.
Write the complete copy before choosing duration. Read it aloud, then test how long an unfamiliar reader needs to read the cards silently. The generator's available clip length should not determine how quickly guests must absorb the details.
Choose the likely delivery format early. A phone-focused vertical invitation and a widescreen display version need different compositions. Keep an editable master so you can adapt the layout without covering faces or making the details smaller.
What could a four-part storyboard look like?
This illustrative plan uses reading time rather than a fixed total duration. It can be assembled from stills, selected generated clips and exact text overlays.
- Opening motif: a quiet decorative image or meaningful place. Copy: “[Name] and [Name].” Keep the opening brief enough that guests reach the purpose promptly.
- Personal frame: a permitted couple photo, with optional gentle camera motion. Copy: a short invitation line rather than the entire event schedule.
- Event card: a stable background with date, time and venue as exact text. Hold long enough for a new reader to understand it without pausing.
- RSVP card: the approved response method and deadline, plus a clear closing message. Repeat the clickable destination in the message that accompanies the video.
The event card can remain static even if the surrounding shots move. Movement is optional; readability is essential. Avoid a transition crossing the screen just as a guest reaches the venue line.
How can you create photo motion in AKOOL?
AKOOL's Image to Video help workflow describes uploading a reference, choosing an available model, describing motion and generating an output. Check the actual model controls and credit estimate in your account before proceeding. This guide does not claim that every model preserves faces or offers identical settings.
A proposed, untested prompt is: “Use the supplied couple photo. Add a very gentle camera push-in and subtle background movement. Keep faces, clothing and pose close to the reference. No speech, generated text or new people.” Keep the request limited so the output is easier to assess.
Compare the opening, middle and ending with the source photo, then watch the whole clip for brief changes. Check eyes, smiles, hands, jewelry, clothing and the number of people. A pleasant first frame does not establish that the rest of the clip is suitable.
If faces drift, keep the original photograph and use a modest editor zoom or a static hold. That is ordinary photo editing, not a claim of AI-generated movement. You can also reserve AI for a separate decorative background where no person's identity needs to be preserved.
Save the source, prompt, model version and selected output with the invitation project. For a broader photo-based starting point, open Image to Video. Do not add event names or dates through generation when those details need exact spelling.
How do you add names, dates and venue text accurately?
Use a timeline editor that supports editable text overlays and the export format you need. Add the approved copy as text layers over a stable card. This is an editor-independent assembly plan, not an account of tested controls in a specific AKOOL editor.
Keep the text in a separate copy document. Paste from that approved version, then proofread the exported file independently. Check line breaks, punctuation, accents and whether a font renders every character. A second person should compare the visible card with the event record rather than simply watching for visual polish.
Use strong contrast and a restrained hierarchy: names and occasion, then date and venue, then response information. If the card feels crowded, move optional details to the accompanying page or message. Do not shrink everything until it fits.
A URL drawn inside a video is usually not a clickable link in the video pixels. Send the approved RSVP link as selectable text in the accompanying message, or use the sharing platform's available link feature. Test that destination yourself. A QR code also needs testing at the final displayed size and may be inconvenient when the invitation is already on the guest's phone.
Which invitation script style should you use?
Formal invitation
“Together with their families, [Name] and [Name] invite you to celebrate their wedding on [full date] at [time], [venue and location]. Please RSVP by [deadline] at [approved link or contact].”
Adapt the hosting line to the couple's actual preference. Split the wording across the personal frame and event card rather than putting the entire paragraph over the photograph.
Casual invitation
“We're getting married! Join [Name] and [Name] on [full date] at [time], [venue]. We'd love to celebrate with you. Details and RSVP: [approved link]. Please reply by [deadline].”
Keep the warm tone while retaining the necessary logistics. A casual invitation still needs an unambiguous time and response method.
Save-the-date
“Save the date for [Name] and [Name]: [full date], [city]. Formal invitation to follow.”
This version deliberately leaves out details that may not be ready. Do not call it a complete invitation if guests still need the venue, time or instructions. Send the later invitation when those details are approved.
How do you handle narration or a second language?
Narration is optional. A short personal recording may suit the invitation, provided the written event details remain complete for muted viewing. If using a generated voice, confirm the available workflow and permissions, and listen to the actual output before sharing.
Check pronunciation of both names, the venue and any words from another language. Compare the spoken date and time with the card. If narration and text disagree, correct the source and export again rather than assuming recipients will know which version to trust.
For bilingual invitations, consider two separate exports when combining languages would make the text too dense. Have a fluent reviewer check meaning, forms of address, names and date conventions. Confirm that the chosen font supports each script and that right-to-left text is displayed correctly where relevant.
What should you check before sharing?
- Every placeholder has been replaced; names, date, year, time and venue match the approved record.
- The invitation is intended for the correct guest group and event.
- Cards can be read on a phone without zooming or pausing.
- Faces and other personal details remain acceptable throughout any generated clip.
- Music, photos and voices are permitted for the intended sharing.
- The RSVP destination opens, works and is included outside the video as a usable link.
- The final exported file plays in the intended sharing route, with acceptable sound and no clipped text.
- The accompanying message tells guests how to ask questions or obtain details.
Send a test to a trusted reviewer through the same route guests will use, because messaging services may compress files or alter previews. Watch that delivered copy. Keep the editable project and final copy record in case the organizer needs a correction.
Start with one approved photograph and a complete details card. Use AKOOL's video generator for optional visual motion, then build the invitation around clear information. This workflow creates visual assets; it does not assume a wedding-template library, an invitation-sending service or RSVP tracking inside AKOOL.